若Servlet與EJB為同一個應用程式(同一個JVM),則可以直接由容器將Bean注入Servlet中,以 第一個 Session Bean(Servlet 客戶端) 為基礎,因為是Stateless Session Bean,所以只需要將程式修改為以下:
- HelloServlet.java
package onlyfun.caterpillar;

import java.io.*;
import javax.servlet.*;
import javax.servlet.http.*;
import javax.ejb.EJB;

public class HelloServlet extends HttpServlet {
    @EJB
    private HelloBean hello;

    protected void processRequest(HttpServletRequest request,
                                HttpServletResponse response)
                        throws ServletException, IOException {
        response.setContentType("text/html;charset=UTF-8");
        PrintWriter out = response.getWriter();
                    out.println("<html>");
        out.println("<head>");
        out.println("<title>Servlet HelloServlet</title>");
        out.println("</head>");
        out.println("<body>");
        out.println("<h1>" + hello.doHello("Orz...") + "</h1>");
        out.println("</body>");
        out.println("</html>");
        out.close();
    }

    protected void doGet(HttpServletRequest request,
                         HttpServletResponse response)
                       throws ServletException, IOException {
        processRequest(request, response);
    }

    protected void doPost(HttpServletRequest request,
                          HttpServletResponse response)
                       throws ServletException, IOException {
        processRequest(request, response);
    }

    public String getServletInfo() {
        return "Short description";
    }
}
若為同一個應用程式,您的Bean不需標示為@Remote,而可以使用@Local來標示,這可以省去遠端介面的RMI呼叫成本,也就是HelloBean的定義可以改為:
- HelloBean.java
package onlyfun.caterpillar;

import javax.ejb.Local;

@Local
public interface HelloBean {
    public String doHello(String message);
}
接著您將Web應用程式的WAR檔,EJB模組的JAR檔,一併封裝為EAR檔,部署為一個Java EE應用程式,以NetBeans為例,就是建立一個Enterprise Application專案,並將Web應用程式及EJB模組加入成為一個Java EE模組(Enterprise Application專案上按右鍵選Add Java EE Module):
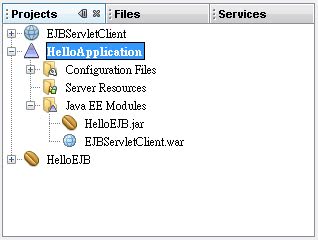
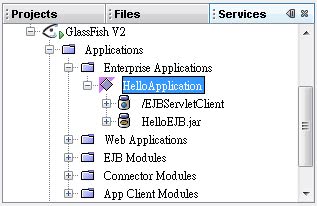
將專案部署上去之後就可以直接請求Servlet,在NetBeans上部署之後長這樣: