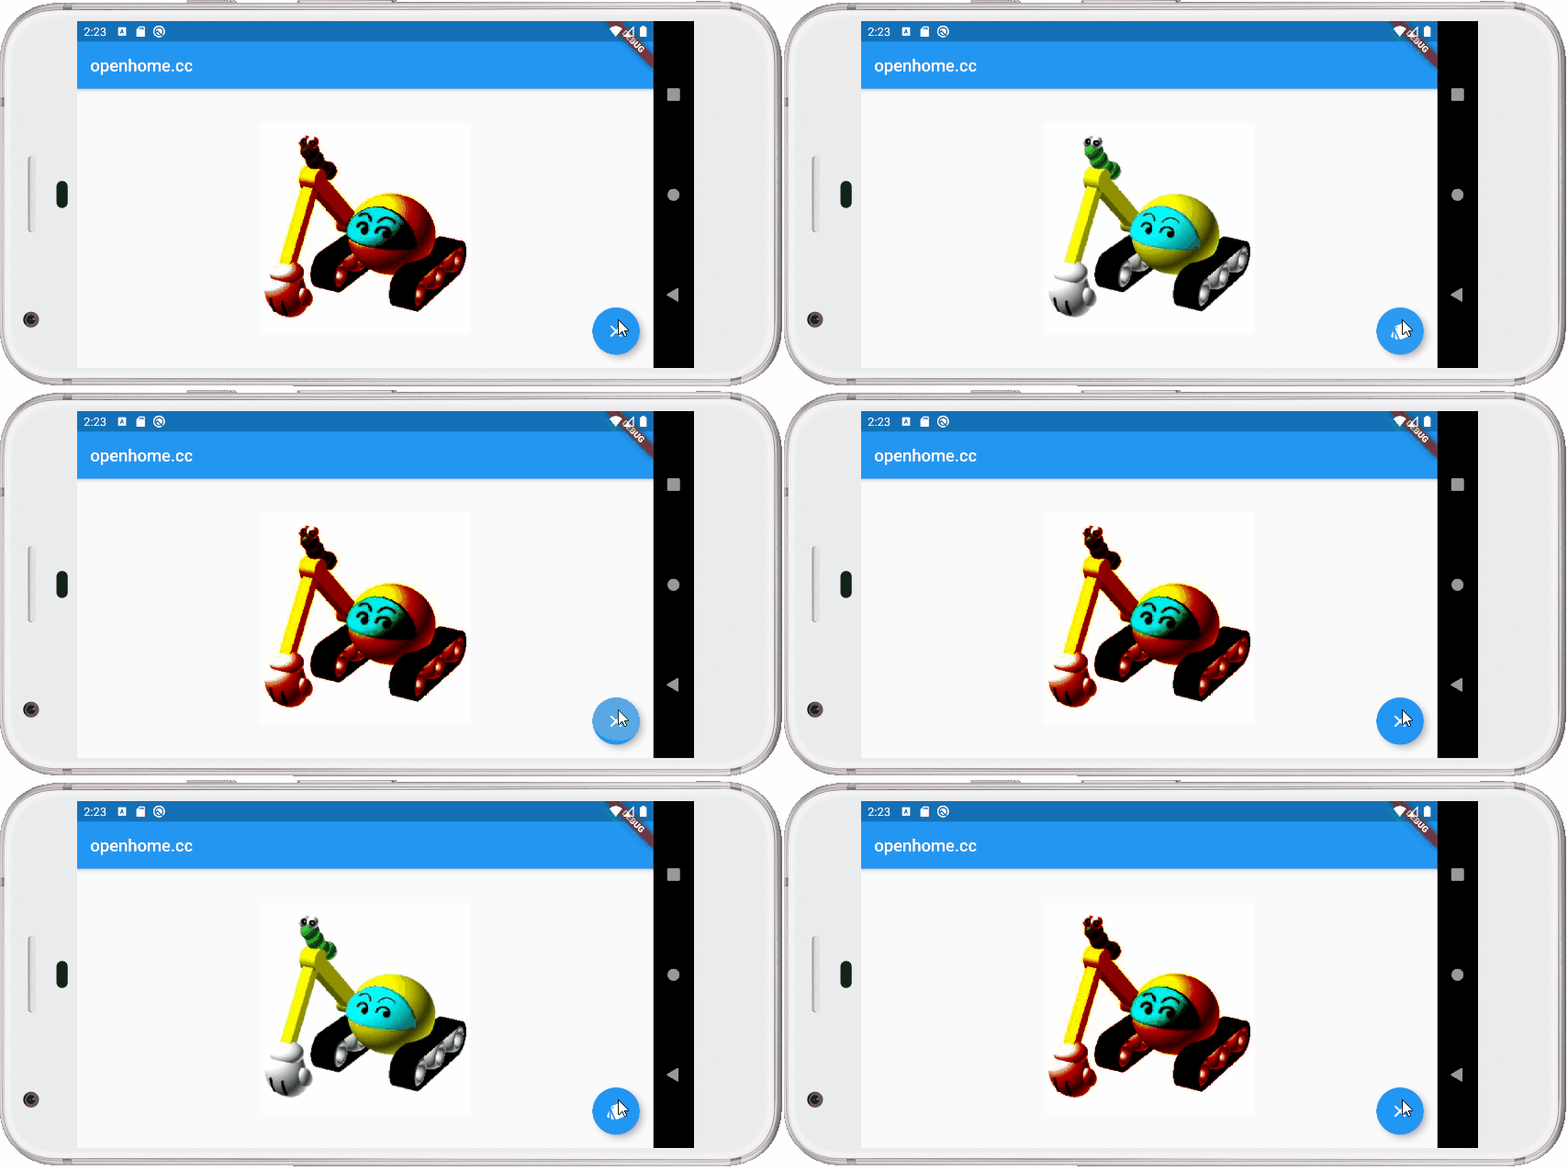
在 ImplicitlyAnimatedWidget 的文件 中,可以看到一些與非動畫元件相對應的隱式動畫元件,這些元件本質上是作為一個包裹器,藉由控制自身特性,來實現對子元件的動畫。
如果你想直接操作某個元件的特性來完成動畫,可以使用 TweenAnimationBuilder,Tween 的意思是 between,顧名思義,可以指定起始與終值來控制動畫,例如,可以將〈隱式動畫 Widget〉中的縮放動畫,改用 TweenAnimationBuilder 實現:
import 'package:flutter/material.dart';

void main() => runApp(
  MaterialApp(
    home: Caterpillar(),
  )
);

class Caterpillar extends StatefulWidget {
  @override
  State<StatefulWidget> createState() => _CaterpillarState();
}

class _CaterpillarState extends State<Caterpillar> {
  var zoom_in = false;
  // 一開始動畫持續時間為 0 ,相當於一開始不展現動畫
  var durationSeconds = 0;

  @override
  Widget build(BuildContext context) {
    return Scaffold(
      appBar: AppBar(
        title: Text('openhome.cc'),
      ),
      body: Center(
        // 使用 TweenAnimationBuilder
        child: TweenAnimationBuilder(
          // 指定特性區間
          tween: zoom_in ? Tween<double>(begin: 100.0, end: 300.0) :
                           Tween<double>(begin: 300.0, end: 100.0),
          // 持續時間
          duration: Duration(seconds: durationSeconds),
          // 依傳入的插值建立元件
          builder: (_, double width, __) {
            return Image.network('https://openhome.cc/Gossip/images/caterpillar.jpg',
              width: width,
            );
          },
        ),
      ),
      floatingActionButton: FloatingActionButton(
        onPressed: () => setState(() {
          zoom_in = !zoom_in;
          // 操作後會展現動畫
          durationSeconds = 1;
        }),
        tooltip: zoom_in ? 'Zoom in' : 'Zoom out',
        child: Icon(zoom_in ? Icons.zoom_in : Icons.zoom_out),
      ),
    );
  }
}
tween 特性的型態是 Tween<T>,這邊指定了 Tween<double> 的實例,重點在於 builder 的部份,第一個參數是 BuildContext,第二個是插值,第三個是 Widget,TweenAnimationBuilder 可以設定 child 特性,如果你想要重用這個 child,就可以在 builder 的第三個參數取得。
這個範例的效果與〈隱式動畫 Widget〉中的縮放動畫是相同的,TweenAnimationBuilder 可以指定 curve 特性,預設是 Curves.linear,curve 計算後的結果,會傳給 tween 的 lerp,這邊使用的 Tween<T> 會使用 lerp 方法來計算區間的插值:
class Tween<T extends dynamic> extends Animatable<T> {
  Tween({ this.begin, this.end });

  T begin;
  T end;

  @protected
  T lerp(double t) {
    assert(begin != null);
    assert(end != null);
    return begin + (end - begin) * t as T;
  }

  @override
  T transform(double t) {
    if (t == 0.0)
      return begin;
    if (t == 1.0)
      return end;
    return lerp(t);
  }

  @override
  String toString() => '${objectRuntimeType(this, 'Animatable')}($begin \u2192 $end)';
}
通常會使用 TweenAnimationBuilder,是想要直接操作元件特性來完成動畫,而這通常是發生在 Flutter 內建的隱式動畫元件無法滿足你的需求時。
例如,以下的範例可以切換混色,還沒有加入動畫效果:
import 'package:flutter/material.dart';

void main() => runApp(
  MaterialApp(
    home: Caterpillar(),
  )
);

class Caterpillar extends StatefulWidget {
  @override
  State<StatefulWidget> createState() => _CaterpillarState();
}

class _CaterpillarState extends State<Caterpillar> {
  var blendRed = true;

  @override
  Widget build(BuildContext context) {
    return Scaffold(
      appBar: AppBar(
        title: Text('openhome.cc'),
      ),
      body: Center(
        child: Image(
          image: NetworkImage('https://openhome.cc/Gossip/images/caterpillar.jpg'),
          color:  blendRed ? Colors.red : Colors.white,
          colorBlendMode: BlendMode.colorBurn,
        ),
      ),
      floatingActionButton: FloatingActionButton(
        onPressed: () => setState(() {
          blendRed = !blendRed;
        }),
        tooltip: blendRed ? 'Clear' : 'Blend',
        child: Icon(blendRed ? Icons.clear : Icons.style),
      ),
    );
  }
}

如果想要實現混色時的漸變效果呢?Flutter 內建的隱式動畫沒有這類元件,這時可以使用 TweenAnimationBuilder:
import 'package:flutter/material.dart';

void main() => runApp(
  MaterialApp(
    home: Caterpillar(),
  )
);

class Caterpillar extends StatefulWidget {
  @override
  State<StatefulWidget> createState() => _CaterpillarState();
}

class _CaterpillarState extends State<Caterpillar> {
  var blendRed = true;
  var durationSeconds = 0;

  @override
  Widget build(BuildContext context) {
    return Scaffold(
      appBar: AppBar(
        title: Text('openhome.cc'),
      ),
      body: Center(
          child: TweenAnimationBuilder(
            tween: blendRed ? ColorTween(begin: Colors.white, end: Colors.red) :
                              ColorTween(begin: Colors.red, end: Colors.white),
            duration: Duration(seconds: durationSeconds),
            builder: (_, Color color, __) {
              return Image(
                image: NetworkImage('https://openhome.cc/Gossip/images/caterpillar.jpg'),
                color: color,
                colorBlendMode: BlendMode.colorBurn,
              );
            },
          )
      ),
      floatingActionButton: FloatingActionButton(
        onPressed: () => setState(() {
          blendRed = !blendRed;
          durationSeconds = 2;
        }),
        tooltip: blendRed ? 'Clear' : 'Blend',
        child: Icon(blendRed ? Icons.clear : Icons.style),
      ),
    );
  }
}
ColorTween 是 Tween<Color> 的子類,重新定義了 leap 方法,使用 Color.lerp 來插值:
class ColorTween extends Tween<Color> {
  ColorTween({ Color begin, Color end }) : super(begin: begin, end: end);

  @override
  Color lerp(double t) => Color.lerp(begin, end, t);
}
Color.lerp 的實作主要就是 Color 來進行計算,並傳回 Color 實例:
static Color? lerp(Color? a, Color? b, double t) {
  assert(t != null); // ignore: unnecessary_null_comparison
  if (b == null) {
    if (a == null) {
      return null;
    } else {
      return _scaleAlpha(a, 1.0 - t);
    }
  } else {
    if (a == null) {
      return _scaleAlpha(b, t);
    } else {
      return Color.fromARGB(
        _clampInt(_lerpInt(a.alpha, b.alpha, t).toInt(), 0, 255),
        _clampInt(_lerpInt(a.red, b.red, t).toInt(), 0, 255),
        _clampInt(_lerpInt(a.green, b.green, t).toInt(), 0, 255),
        _clampInt(_lerpInt(a.blue, b.blue, t).toInt(), 0, 255),
      );
    }
  }
}
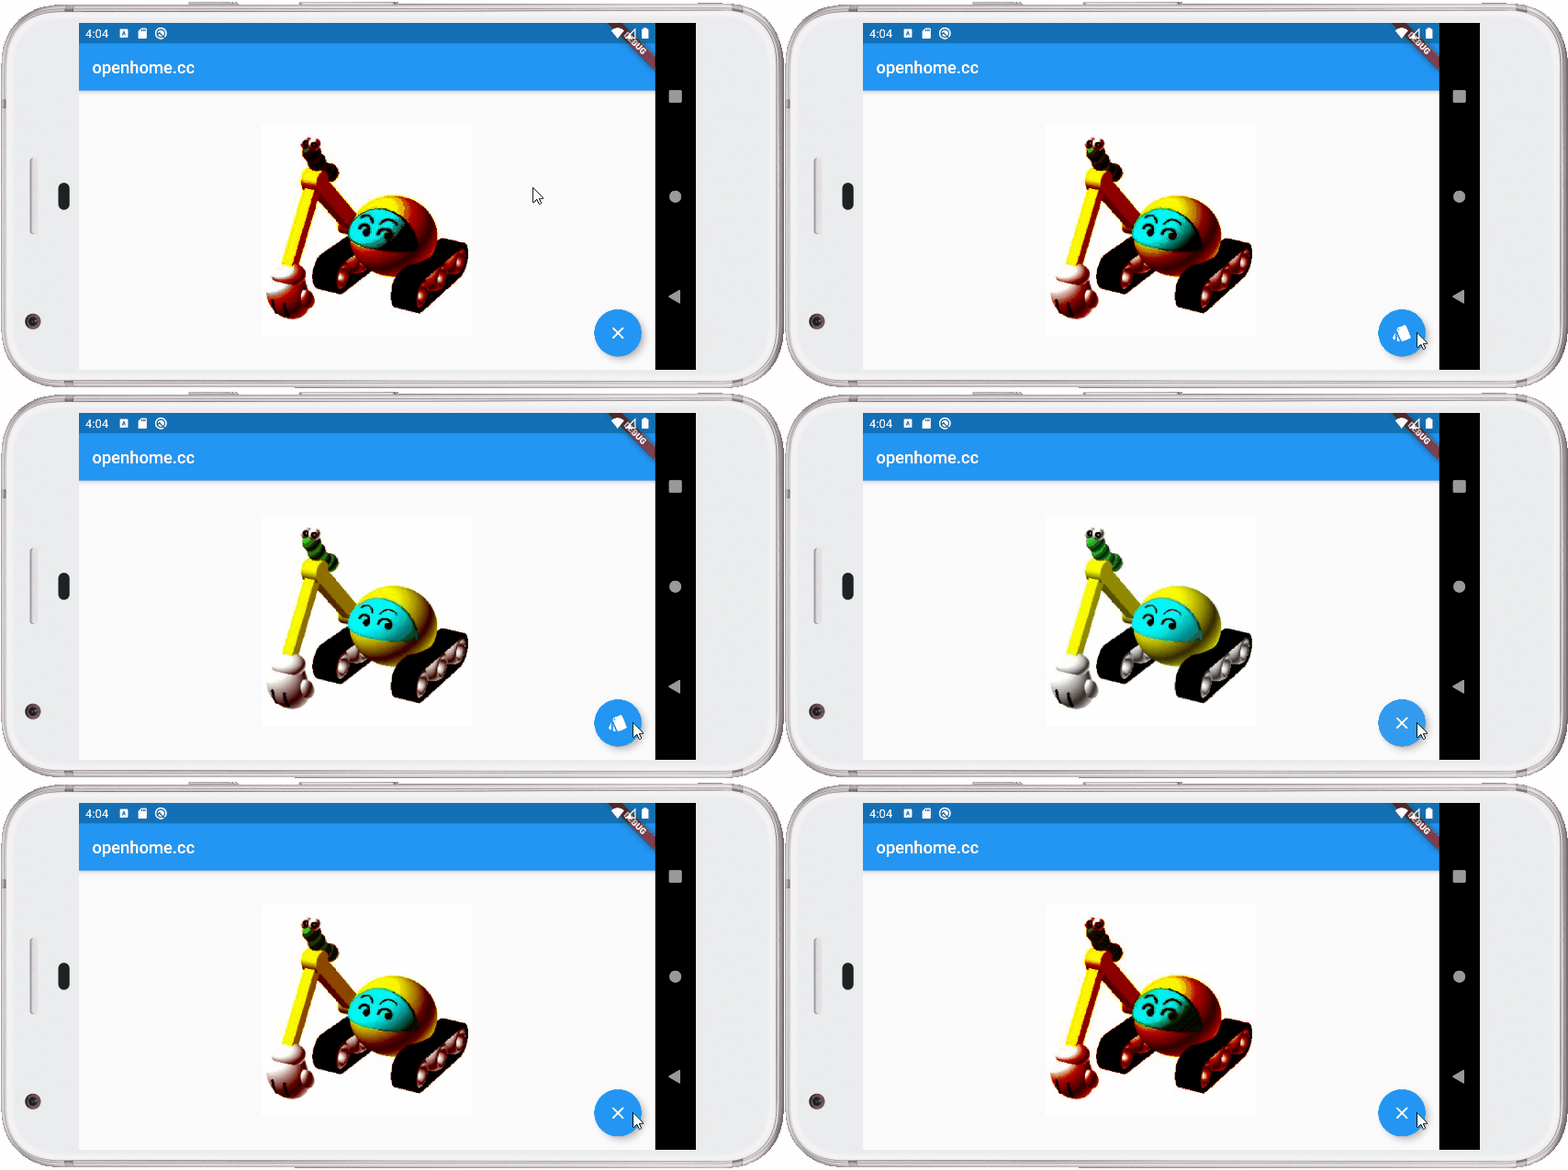
來看一下效果:


